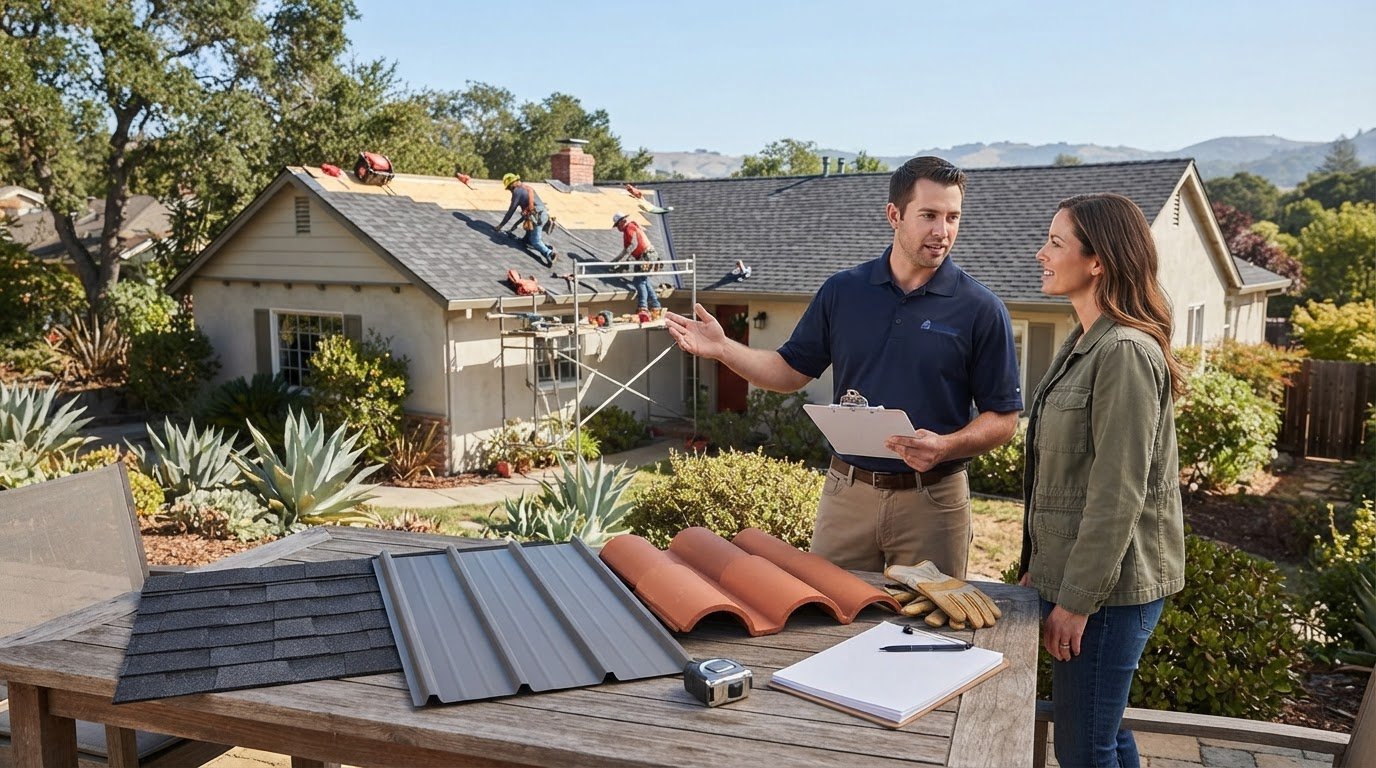
A new roof can look finished and still have defects that let water in or leave the structure vulnerable. The clearest signs of a bad roofing job include uneven or sagging roof lines, missing or poorly aligned shingles, faulty flashing, and leaks or water stains indoors. Don’t rely on appearance alone: compare the work with your contract and warranty, and document concerns with clear photos and records.
It’s understandable to feel uncertain when you spot a problem, especially if the roofer says the job is complete. A careful record of what you see and when you noticed it can help you explain the issue clearly and decide what to do next.
This guide explains how to recognize common roofing defects, preserve useful documentation, and notify the original roofer in writing. It also covers when an independent inspection may help, how to approach your local building department or insurer, and why prompt attention to leaks can limit further damage.
Key Takeaways
- Check chimney and roof-edge flashing closely; brick chimneys on Long Island homes built from the 1950s through the 1970s may require custom flashing work.
- Treat a sagging or wavy roofline as a potential structural warning, since it can point to damaged rafters or compromised roof decking.
- Record cleanup issues and any damage to your property so you can clearly show what was left behind after the work.
- Address leaks promptly, because water can spread damage to framing, insulation, and interior finishes.
- If the contractor disputes your concerns or doesn’t respond, an independent inspection can help document the condition for an insurer, building department, or attorney.
1. Documenting defects and reviewing the contract
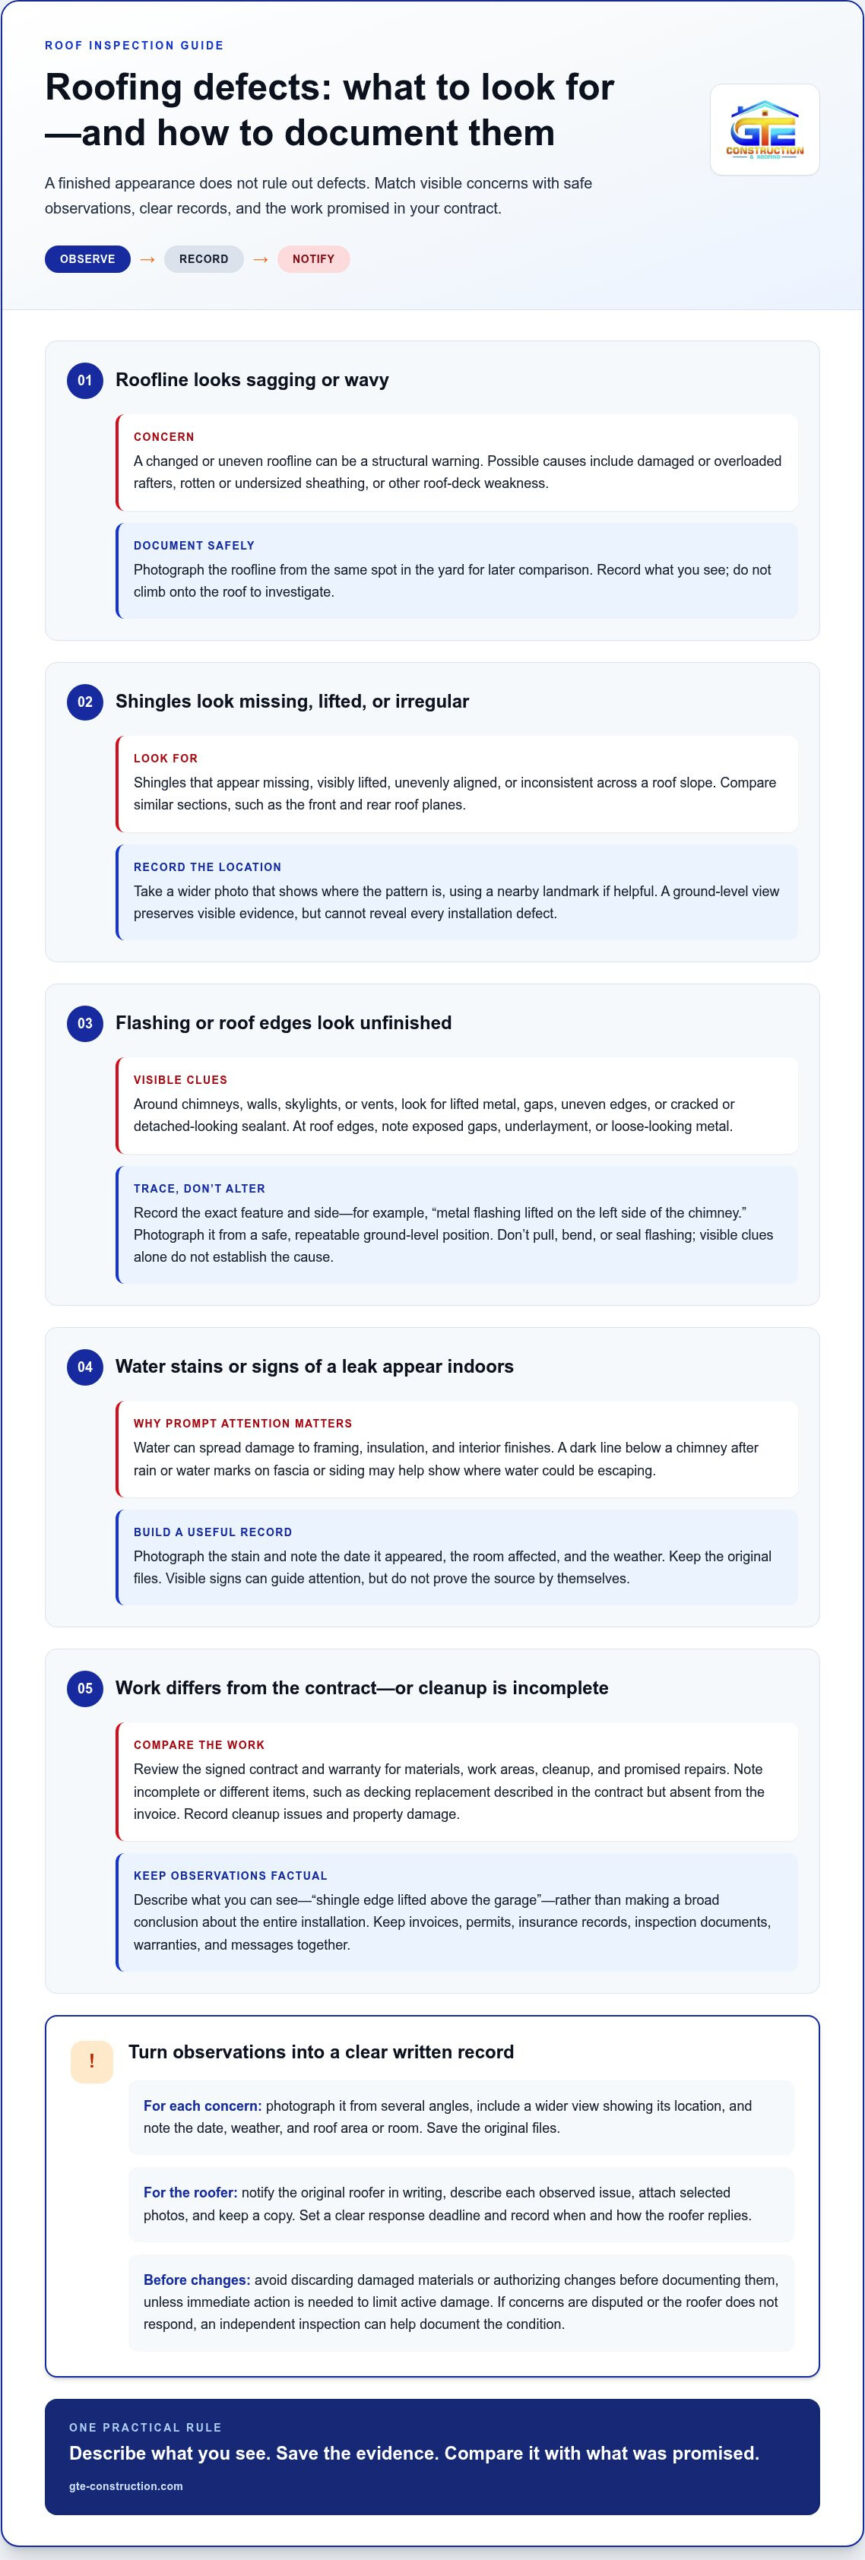
Start a dated record as soon as you notice possible signs of a bad roofing job. Photograph each concern from several angles, including a wider view showing its location. Save the original files, then note the date, weather, and room or roof area. Keep invoices, permits, insurance records, inspection documents, and messages together. A photo of a ceiling stain, for example, is more useful when paired with the date it appeared and the room affected.
Compare the completed work with the signed contract and warranty. Check the listed materials, work areas, cleanup, and any promised repairs. Note each item that appears incomplete or different, such as a contract describing decking replacement when the invoice shows no decking work. Separate what you can see from your conclusions: record “shingle edge lifted above the garage,” rather than declaring the entire installation defective.
From the ground, look for shingles that appear missing, visibly lifted, irregularly aligned, or inconsistent across a roof slope. Compare similar sections, such as the front and rear roof planes, and photograph unusual patterns with a landmark to show their location. A ground-level view cannot reveal every installation defect, but it can preserve visible evidence. Don’t climb onto the roof to investigate; document what you can see safely.
Available protections depend on the written contract, workmanship warranty, product warranty, and applicable state or local law. Review coverage limits, exclusions, notice requirements, and claim deadlines in each document. Keep a copy of every warranty and product information provided with the job. If a dispute remains, an attorney can explain how applicable protections relate to the contract and your records.
Repair pricing depends on the defect, materials, roof access, and whether damaged decking or flashing also needs work. A project-specific price is provided after a quote request. Keep any estimate with the original contract so you can compare the proposed repair scope with the work initially promised.
Notify the original roofer in writing, describe each observed issue, attach selected photos, and keep a copy of your notice. Set a clear response deadline, then record when and how the roofer replies. Avoid discarding damaged materials or authorizing changes before documenting them, unless immediate action is needed to limit active damage. A dated record helps distinguish the original condition from later repairs.
A sagging or wavy roofline after replacement can indicate rotten or undersized sheathing, overloaded or damaged rafters, or structural weakness missed during installation. Installing new roofing over rotten or soft decking without addressing the damage is also a warning sign. Photograph changes in the roofline from consistent viewpoints, such as the same spot in the yard, so later comparisons show whether its appearance has changed.
2. Flashing and roof-edge details
Flashing directs water away from joints where roofing meets a chimney, wall, skylight, or vent. From the ground, look for lifted metal, gaps, uneven edges, or sealant that appears cracked or detached. A dark line below a chimney after rain, for example, may signal that water is getting past a joint. These visible clues deserve attention, but they don’t establish the cause by themselves.
At roof edges, check whether shingles appear to extend unevenly or leave exposed gaps. Examine the eaves and rake edges from a safe vantage point. Loose-looking metal, exposed underlayment, or irregular shingle lines can indicate an unfinished or poorly integrated edge detail. Near a gutter, look for water marks on the fascia or siding below the roofline. Those marks can help show where water may be escaping, even when the roof surface looks intact.
Chimney flashing deserves particular scrutiny on homes with brick chimneys. The metal should meet the chimney and roof carefully, without obvious openings or detached edges. Note whether the concern appears on one side or around the full chimney. That distinction can help an inspector trace a leak to a specific junction. Photograph the chimney from the same ground-level position if you need to compare its appearance later.
What building code requirements apply to roof installation in the United States? Requirements depend on the codes adopted by the local jurisdiction and the project conditions. Applicable provisions may address materials, flashing, ventilation, and permits. For homes in Alameda County or Contra Costa County, the local building department can identify the requirements for the property.
Roof ventilation problems can also point to workmanship concerns. Look for blocked or covered vents, damaged vent openings, or a roof design that appears to leave no clear intake or exhaust path. Inside, persistent condensation in an attic or damp insulation may accompany poor airflow, although other sources can cause moisture. A professional can compare vent locations with the roof layout and determine whether installation details obstruct airflow.
Use a repeatable inspection route from the ground: examine each roof edge, then the areas around chimneys, skylights, and vent pipes. Record the exact feature and its position, such as “metal flashing lifted on the left side of the chimney.” Avoid pulling, bending, or sealing flashing yourself. Altering a joint can hide its original condition and complicate a later inspection.
When flashing or roof-edge concerns persist, a qualified inspection can distinguish a visible defect from a cosmetic irregularity. If repair is needed, roofing repair can address damaged installation details. A sound repair restores the water-shedding path around the affected junction rather than simply covering the visible gap.
3. Getting an independent inspection and contacting authorities or insurers
If the original roofer disputes your complaint or doesn’t respond by your stated deadline, arrange an independent inspection. A licensed third-party professional can assess the roof without relying on the original roofer’s conclusions. Ask for a written report identifying observed conditions, affected areas, and supporting photos. For example, a report can distinguish loose flashing from water damage caused by another roof defect.
Prepare a focused inspection file before the visit. Include the contract, warranty, invoices, permit records, dated photos, and your written notice to the roofer. Mark the areas you want examined, such as a leak below a chimney or shingles that appear uneven. Share the timeline of installation, first discovery, and any attempted repairs. Clear records help the inspector compare the present condition with the work promised.
Request findings that describe evidence, not just conclusions. A useful report explains where the inspector observed damage, what installation detail appears defective, and whether further assessment is needed. Keep the report and any follow-up correspondence together. This documentation can support a discussion with your insurer, local building department, or attorney, each of whom may need different information.
Contact your insurer early after discovering a roofing problem. Some homeowner policies may not cover workmanship issues, so ask how your policy treats the reported damage and what documentation the insurer needs. Describe the visible condition accurately, such as “water stain appeared below the north roof slope,” rather than assuming its cause. Save the claim reference, submitted records, and written responses together.
If you suspect a required permit was not obtained, contact the local building department serving your property. Explain the project and ask how the department handles permit concerns. A local building department can require a contractor to obtain a permit after the fact when a required permit was not pulled. Keep the department’s correspondence with your project records, including any instructions about inspection or documentation.
An attorney can help interpret the contract and explain options when the dispute concerns responsibility, repair costs, or an unfulfilled warranty. Bring the signed agreement, written notices, inspection report, and roofer’s responses. Don’t treat an inspection report as an automatic legal decision; it documents technical observations. The contract and applicable protections shape how those findings relate to a claim.
Keep communication factual and dated. For instance, email the roofer that an independent inspection found a specific concern, attach the relevant report page, and request a written response. If new damage appears before the dispute is resolved, update the insurer and preserve additional evidence. Early, organized communication helps everyone assess the same roof condition and reduces confusion about when the issue began.
4. Job-site cleanup and property damage
Roof replacement can leave nails, shingle fragments, and packaging around the property. After the crew leaves, inspect the driveway, walkways, lawn, and planting beds from ground level. Look for debris near downspouts, where runoff can carry small scraps. A clear driveway matters too: loose nails can damage tires or injure someone walking through the work area. Record specific locations rather than describing the entire yard as messy.
Check the home’s exterior for damage that may have occurred during material delivery or installation. Compare gutters, siding, window screens, fences, and outdoor lights with their condition before the project. For example, a bent gutter section beneath the roof edge or a cracked screen beside a ladder position deserves a closer look. Photograph the item in place and take a wider shot showing its location on the property.
Landscaping can also reveal where equipment or materials were placed. Look for crushed shrubs, broken branches, disturbed edging, or deep marks in a lawn. A damaged flower bed beside the driveway may indicate where bundles were unloaded. Note whether the affected area is along an access route or below the roof edge. That context helps explain the damage when you discuss the completed work.
Inspect accessible outdoor fixtures for roofing debris or disturbance. Check whether downspout openings are blocked by shingle grit, leaves, or packaging, and look for debris collected near the foundation. If a vent cover, satellite dish, or exterior light appears loose or displaced, photograph it without climbing or attempting repairs. Keep children and pets away from sharp debris until it can be removed safely.
For a practical walkthrough, move around the house in a consistent direction. Start at the driveway, continue past each exterior wall, then examine the yard and outdoor living areas. Note visible debris, damaged surfaces, and affected belongings separately. For instance, list “nails near the rear patio” separately from “scratched siding beside the garage.” Specific descriptions make a follow-up conversation more productive.
Before cleanup changes the scene, take clear photos of property damage and debris. Include close views of details and wider shots showing where they were found. Keep receipts for any immediate protective measures or replacement items, and retain damaged components when practical. If the crew returns to remove debris or repair damage, record what was addressed and what remains. This creates a straightforward account of the site’s condition and subsequent work.
Separate ordinary leftover materials from damage that affects the home’s function. A few discarded wrappers differ from a downspout blocked with roofing fragments or a gate that no longer closes. Prioritize conditions that could cause further harm, such as debris preventing drainage away from the house. Describe the issue in writing, identify the affected area, and request a specific cleanup or repair response. Clear observations help distinguish a housekeeping concern from damage requiring corrective work.
5. Leaks and water stains
A ceiling stain after roof work deserves prompt attention, even if it looks dry. Unresolved roof leaks can spread water damage to framing, insulation, and interior finishes. A brown ring below a roof slope, peeling paint near an upstairs ceiling, or damp insulation in an accessible attic can help show where moisture has appeared. The stain’s location doesn’t always match the entry point, because water can travel along roof components before reaching the ceiling.
Start indoors. Note the room, ceiling or wall location, stain shape, and whether the area feels damp. Photograph the mark beside a fixed feature, such as a window or light fixture, so its position is clear. Check nearby rooms and upper-floor ceilings for related marks. If a stain expands after rain, record the change and the weather conditions. Keep observations factual; a mark alone doesn’t prove a specific installation defect.
Next, look for other visible clues without entering an unsafe attic or climbing onto the roof. Check for bubbling paint, warped trim, damp-looking insulation visible from a safe access point, or water collecting around a ceiling fixture. A musty odor near an upstairs closet can also point to an area needing inspection. Don’t touch wet electrical fixtures or disturb ceiling materials that appear unstable.
Protect belongings beneath an active drip by moving furniture and placing a container under the water. If water is spreading across a ceiling, keep people clear of the area and arrange prompt professional attention. Avoid cutting into a ceiling or applying a quick patch before the leak source is assessed. A surface repair can hide continued moisture while water remains inside the roof assembly.
Trace the likely path carefully. Compare the interior stain with roof features above it, such as a chimney, vent, skylight, or valley. A stain below a chimney, for example, gives an inspector a useful starting point, but water may have traveled from a nearby junction. Note any relationship between the mark and recent rain, then share that observation during an inspection.
After a leak is identified, ask for an assessment of both the entry point and any affected materials. Repainting a stain alone won’t address wet insulation or damaged framing. Keep repair details with the inspection findings, and check the same interior area after the work. A recurring stain or new damp patch indicates that the source still needs attention.
If a leak or water stain appeared after roofing work, request roofing repair to address the roof issue and limit further damage.
GTE Construction & Roofing: New Roofing & Installation
GTE Construction & Roofing provides New Roofing & Installation and Roofing Repair for homeowners addressing roof defects. If an inspection identifies an isolated problem, a repair may address the affected area; extensive or recurring issues may call for a new roofing project. Clear inspection findings and your records can help define the work needed and the condition to address.
For a replacement, the installation scope should account for the roof’s condition, including any damaged decking that needs attention. For a repair, identifying the source of water entry or a failed roof detail helps focus the corrective work. The appropriate next step depends on the defect documented at your home.
Contact GTE Construction & Roofing to discuss your roofing needs.
Move from concern to a clear next step
Once you’ve identified possible signs of a bad roofing job, use your documentation to define the outcome you need. A sound next step is not simply covering a visible symptom; it’s understanding which part of the roof needs attention and what work will address it. That distinction helps keep decisions focused on your home’s condition, rather than on assumptions or pressure to act before you understand the issue.
GTE Construction & Roofing provides Roofing Repair and New Roofing & Installation for homeowners who need corrective work or a replacement. Share your concern and the records you’ve gathered to begin a practical conversation about the roofing work your home needs.
Contact GTE Construction & Roofing to discuss your roofing project and take the next step with greater clarity.
Frequently Asked Questions
What are the most common signs of a bad roofing job?
Common signs of a bad roofing job include uneven shingle courses, missing pieces, exposed fasteners, and a roofline that looks wavy. Look for several clues together rather than treating one irregular shingle as proof of defective work. Compare similar roof slopes from the ground, and note whether the same pattern appears repeatedly. A change in appearance after wind or rain can help show when a concern became noticeable.
What are signs of roof leaks or water damage after a new roof installation?
New ceiling marks, peeling paint, damp drywall, or a persistent musty smell can signal moisture after roof installation. Look for changes after rainfall, such as a stain darkening or spreading, and note which rooms are affected. Water may travel before appearing indoors, so a mark directly below a roof feature doesn’t identify the entry point by itself. Keep clear of bulging ceilings and wet electrical fixtures.
How can you tell if roof flashing was installed incorrectly?
Flashing may be poorly installed if it appears separated from the roof or chimney, leaves a visible opening, or shifts after weather exposure. Check whether a leak returns near the same junction, such as a chimney corner or vent pipe. From the ground, use binoculars or camera zoom rather than climbing. A recurring leak is a reason to have the junction examined, not proof of the exact defect.
How can homeowners document and report defective roofing work?
Create a brief timeline showing when the work finished, when each concern appeared, and any roofer visits or repairs. Keep original photos, invoices, contract pages, and messages in one project folder. In a written notice, describe the specific location and condition, then state what response you’re requesting and by what date. Save the sent notice and any reply so the sequence remains clear if the issue escalates.
When should you hire an independent roof inspector after installation?
Arrange an independent inspection if the roofer disputes a defect, doesn’t respond, or a problem returns after attempted correction. An inspector who wasn’t involved in the original work can provide a separate assessment of visible conditions. Ask for a written report with photos and specific locations, especially before further work changes the roof. That record can help explain the condition to an insurer, building department, or attorney.