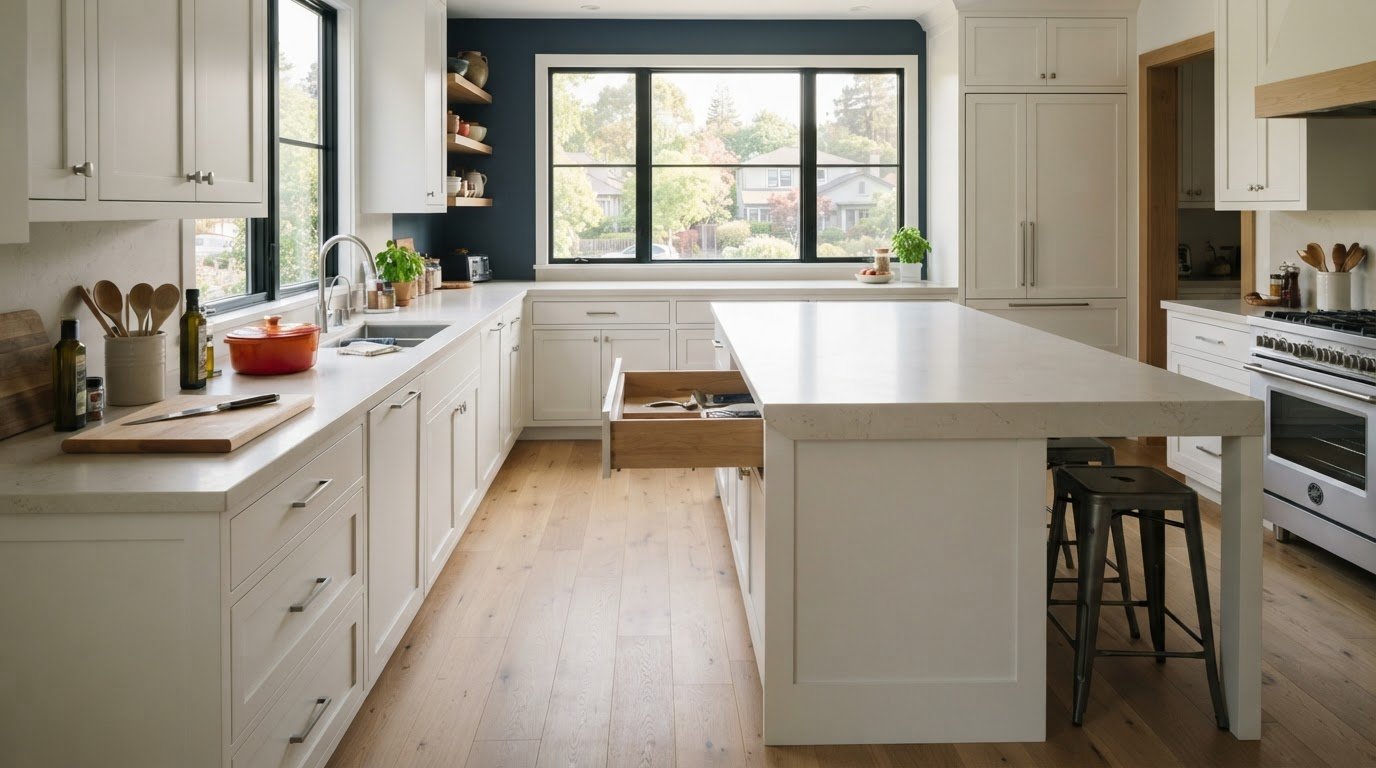
A kitchen can have generous square footage and still leave too little room to prepare a meal. Common kitchen design mistakes often come down to how the space is arranged: plan about 40 inches of clearance on both sides of an island, and about 4 feet between countertops for circulation. In a small kitchen, 39 inches is the minimum recommended space between countertops.
If your counters feel crowded or you find yourself working around open drawers, you’re not alone. Layout has a direct effect on daily routines. A practical design makes room for the way you cook, move, store essentials, and share the kitchen.
This guide explains how island placement, prep space, storage, lighting, and everyday habits affect how well a kitchen works. It also shows why seemingly small choices can interrupt workflow and what to consider when planning a more functional space.
Key Takeaways
- Size an island for the tasks it will support and the paths people need to move around it.
- Protect clear counter space near the sink and stove, where meal preparation naturally happens.
- Arrange appliances and storage so everyday items are close to where you use them.
- Layer task, ambient, and accent lighting to reduce shadows and make the kitchen more comfortable to work in.
- Design around daily routines, including where people gather, sit, and tend to set things down.
1. Kitchen island size and placement
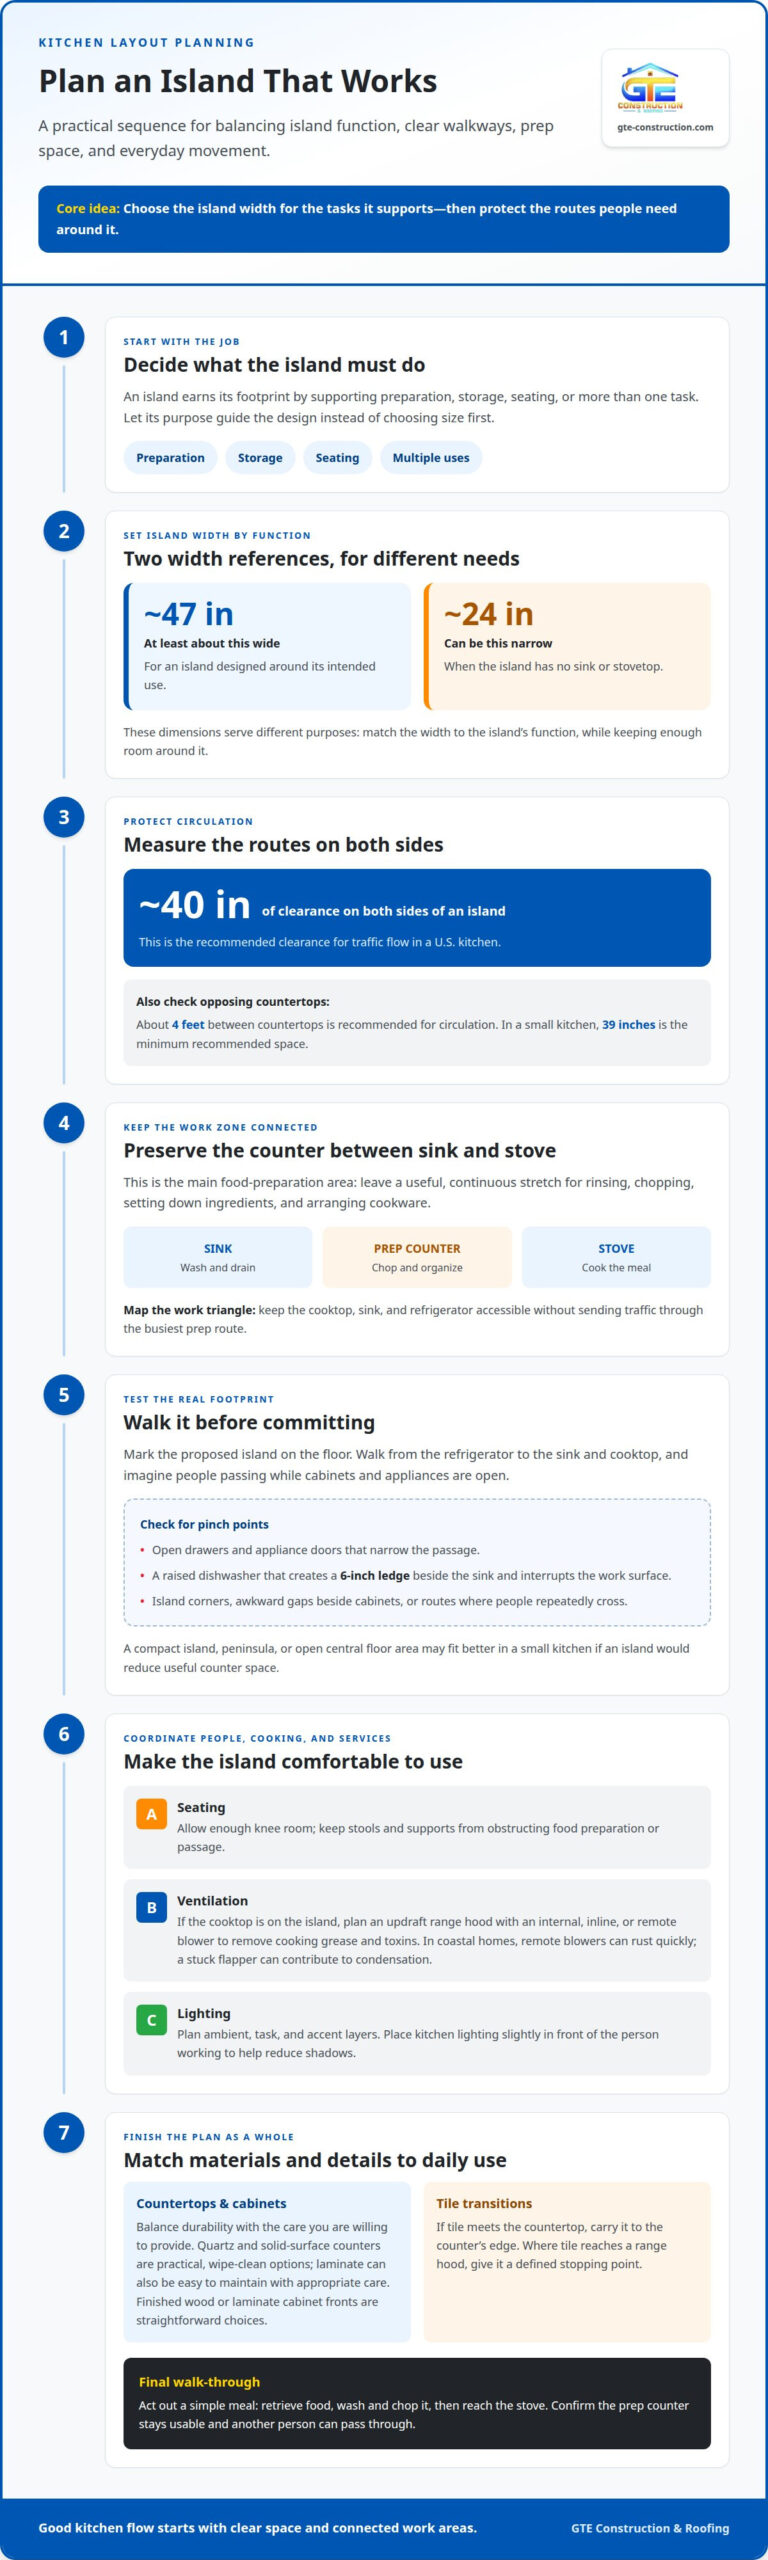
An island earns its footprint by supporting preparation, storage, seating, or more than one task. In a U.S. kitchen, leave about 40 inches of clearance on both sides for traffic flow. A kitchen island should be at least about 47 inches wide when designed for its intended use. If it has no sink or stovetop, it can be as narrow as about 24 inches wide. These dimensions serve different purposes, so choose the island width around its function, then protect the walkways around it.
In a small kitchen, an island can take away useful counter space if it narrows the route between work areas. Compare a compact island, a peninsula, and an open central floor area before deciding. The best fit depends on circulation and whether you need a nearby surface for specific tasks. A larger kitchen may have room for an island with added functions, but size alone does not make it practical. Keep the sink, cooktop, and refrigerator accessible, and consider how people will pass each other when cabinet doors and appliances are open.
Angled islands can create an appealing focal point, but their corners may interrupt walking routes or leave awkward gaps beside cabinets. Mark the proposed footprint on the floor and walk the route from the refrigerator to the sink and cooktop. If people will repeatedly move around the island, a curved edge can help reduce bumps compared with a chamfered shape. Make sure seating has enough knee room, too, so stools do not obstruct food preparation or passage.
Plan ventilation as part of an island layout, especially if the cooktop will be on the island. An updraft range hood with an internal, inline, or remote blower is recommended to remove cooking grease and toxins. In coastal homes, remote blowers can rust quickly, and a stuck flapper can contribute to condensation. Consider the ventilation route while setting island dimensions so the equipment and ducting do not undermine the layout.
Avoid poor lighting and ventilation by planning both around the cooking position. Place kitchen lighting slightly in front of the person working, and include ambient, task, and accent layers. Position an updraft range hood with an internal, inline, or remote blower to address cooking fumes, grease, and toxins.
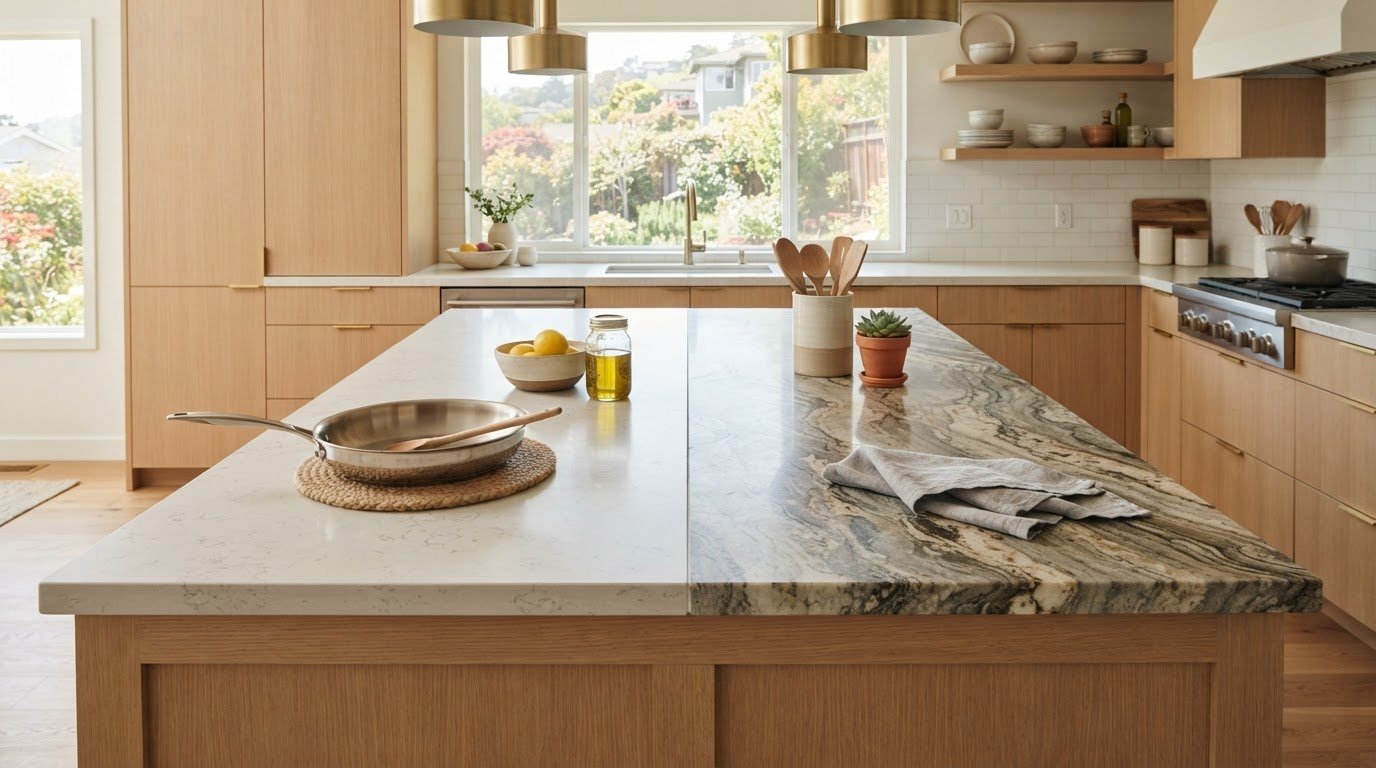
Choose counter and cabinet materials by balancing durability with the care you are willing to provide. Quartz and solid-surface countertops are practical, wipe-clean options; laminate can also be easy to maintain with appropriate care. Finished wood or laminate cabinet fronts are straightforward choices, and routine cleaning helps preserve their appearance.
Finishing details also affect how complete the island area feels. If tile meets the countertop, carry it to the counter’s edge instead of stopping short. Where tile reaches a range hood, give it a defined stopping point rather than extending it above without a clear termination. Consider these details alongside island sizing and ventilation so the kitchen functions as a connected whole.
2. Usable counter and food-preparation space
The countertop between the sink and stove is the kitchen’s main food-preparation area. Preserve a useful stretch for chopping, setting down ingredients, and arranging cookware. If a cooktop, appliance, or pile of dishes takes over that space, everyday preparation shifts elsewhere. Someone rinsing vegetables at the sink, for example, needs room nearby to drain and cut them before cooking. Plan this surface around the sequence of tasks, not just the room’s appearance.
Countertop circulation also affects whether two people can work comfortably. About 4 feet between countertops is recommended for adequate circulation in a U.S. kitchen. In a small kitchen, 39 inches is the minimum recommended space between countertops. Measure the route between opposing counter edges, then consider how an open dishwasher or drawer changes the usable passage. A walkway that looks clear on a plan may feel restricted once someone is cooking and another person needs access.
A raised dishwasher can create a 6-inch ledge beside the sink, obstructing the work area. That ledge may divide the sink from the adjacent counter and make it harder to slide a cutting board or serving dish across the surface. During layout planning, trace the dishwasher’s position and opening direction, then assess the counter beside it. Keep the surface used for rinsing, chopping, and loading dishes connected where possible.
A kitchen plan should account for the work triangle formed by the cooktop, sink, and refrigerator. Leave enough space between these points to move ingredients and cookware without crossing a crowded route. If access to the refrigerator runs behind the main chopping area, for instance, it can interrupt meal preparation. Use the household’s actual cooking habits to place the main work surface, including where groceries are unloaded and where items tend to accumulate.
Seating can reduce usable counter space if stools intrude into the preparation route. Provide enough knee room at a counter or bar, while keeping the cook’s working side clear. Check the position of knees, stools, and nearby cabinet doors together. A breakfast bar that looks generous from across the room may be uncomfortable if its supports block legs or leave little room to sit.
Before finalizing a layout, mark the main prep surface, appliance openings, and seating positions on a plan or the floor. Then act out a simple meal: retrieve food from the refrigerator, wash and chop it, and reach the stove. This practical test reveals whether the counter between the sink and stove stays clear and whether another person can pass through. Prioritize continuous work surfaces near the kitchen’s busiest tasks.
When planning your layout with GTE Construction & Roofing, consider where food is prepared and items tend to pile up. Keep usable preparation space near work areas and provide enough knee room at a counter or bar.
3. Functional appliance and cabinet arrangement
Arrange the sink, stove, and refrigerator so each is accessible without forcing awkward crossings. These three points form the kitchen work triangle, and a practical plan leaves sufficient room between them for comfortable movement. To test a proposed layout, trace a typical meal: take ingredients from the refrigerator, rinse them at the sink, then use the stove. Adjust appliance positions if cabinet doors or another person’s route obstruct those steps.
Work zones make the triangle more useful by grouping tasks with the supplies needed for them. Keep spices and cooking oils near the stove, and store cutlery and dishes near the dishwasher. A cook can then season food without walking across the kitchen, while someone unloading clean dishes can put them away easily. Place everyday items close to where they’re used instead of filling convenient cabinets with rarely needed equipment.
Cabinet depth and height determine whether storage works in practice. Deep cupboards can hide pans and food behind items at the front. Pull-out shelves, drawer organizers, and vertical dividers make contents easier to see and retrieve. Taking cupboards up to the ceiling can increase storage potential in a compact kitchen, especially when upper shelves hold items used less often.
Appliance height affects both comfort and access. A microwave with a hinged door under a countertop can require excessive bending, making repeated use less ergonomic. Dish drawers can be installed beneath the counter on either side of the sink to limit bending when putting away plates and utensils. Before fixing cabinet dimensions, consider who uses each appliance and whether its door or drawer can open without blocking another task.
Cooktop surroundings need careful planning. The stated minimum clearance for wall cabinets above a cooktop ranges from 2 to 3 feet, with requirements varying between electric and gas cooktops. Keep this relationship in mind when locating cabinets and choosing the cooktop position. A layout that crowds cookware, cabinet doors, or nearby work surfaces can make routine cooking less convenient.
Poorly placed appliances and outlets can leave cords crossing preparation surfaces or appliances occupying space needed for other tasks. During renovation planning, map appliance locations, charging stations, and island outlets alongside the intended work zones. This makes electrical needs part of the layout rather than an afterthought. Keep cords and appliances from obstructing the route between the sink, stove, and refrigerator.
Match cabinet storage to daily routines. Put frequently used plates near the dishwasher, keep cooking essentials near the stove, and use organizers where small items are difficult to find. This arrangement reduces unnecessary steps and leaves the main work areas available for the tasks they support.
4. Layered kitchen lighting
A single ceiling fixture can leave the countertop, sink, or stove in shadow. Plan three layers: ambient lighting for general visibility, task lighting for specific work, and accent lighting for selected features. A ceiling fixture can illuminate the room, while focused light serves the chopping area. Accent lighting can draw attention to open shelving. Each layer has a distinct purpose, helping the kitchen stay usable across different activities.
Task lighting should help you see what your hands are doing. Position kitchen lighting slightly in front of the person working, rather than directly overhead or behind them. This reduces shadows cast by your body onto the counter. When chopping vegetables, for example, consider where your shoulders and hands fall relative to the light. Apply the same check at the sink, cooktop, and other regular work areas.
Ambient light supports movement beyond the main work surfaces. A central ceiling fixture may brighten the middle of the room but leave corners or cabinet edges dim. Walk through the kitchen and note where shadows fall as you reach for plates, open drawers, or carry food from the refrigerator. Position general lighting to support those routes rather than relying on one overhead source for every task.
Separate controls make layered lighting more useful. Kitchen downlights, pendant lights, and sconces can be installed on separate circuits, making it easier to adjust illumination and atmosphere. Downlights, for example, can provide general brightness during cleanup, while pendant lights over a work surface support food preparation. Sconces can add a softer accent. Separate circuits let each group of fixtures serve its purpose without switching on every light at once.
Plan fixtures around surfaces and people, not just the ceiling plan. A pendant behind a standing cook can cast a shadow across the counter. A downlight directly above someone may also cast their shadow onto the work area. Mark the sink, stove, counters, and usual standing positions on a plan, then assess where each light will fall. This review can reveal dark patches before installation.
Layered lighting also helps the kitchen shift from one activity to another. Bright task lighting suits chopping or reading a recipe, while softer lighting can suit conversation at a counter. During a renovation, plan fixture positions and circuit controls alongside cabinets and appliances. Check that task light reaches the surfaces people actually use, including the sink and preparation counters, rather than concentrating illumination in the room’s center.
Before finalizing the plan, test the lighting at different times and from different positions. Stand at the sink, stove, and counter to see whether your body blocks the light. Consider how open cabinet doors or a tall appliance affect illumination nearby. A layered plan with ambient, task, and accent lighting gives each area a defined role and avoids depending on a single overhead fixture.
5. Designing around everyday kitchen habits
A kitchen plan works best when it reflects what household members actually do. Before choosing finishes, observe where groceries land, where bags collect, and which counter becomes the default drop zone. If shopping bags regularly cover the counter beside the refrigerator, for example, plan a clear landing surface nearby. This simple observation can prevent an attractive layout from becoming inconvenient during everyday routines.
Map a typical meal from start to finish. Note where ingredients come out, where produce is washed, where chopping happens, and where dishes wait after dinner. If one person cooks while another prepares lunches, identify where their movements overlap. The plan can then separate frequent tasks, put everyday items within reach, and keep the main preparation surface clear for cooking.
Daily habits also show which storage should be easiest to reach. If a coffee maker is used each morning, give it a stable spot near mugs and supplies. If children regularly get snacks, make those items accessible without crossing the cook’s active work area. A household that cooks with several pans should prioritize convenient storage near the stove instead of placing cookware behind rarely used serving pieces.
Plan for times when several people share the room. Someone unloading groceries needs access to the refrigerator while another person may be preparing food nearby. Walk these routes during planning, and consider where stools, open cabinet doors, or a waiting family member might obstruct movement. A curved island edge can also help reduce bumps on repeated trips around the island.
Electrical and plumbing code requirements for U.S. kitchens depend on the codes adopted in the home’s jurisdiction and the work involved. Include appliance connections, outlet locations, and plumbing routes in the project plan, and coordinate them with the intended layout before construction begins.
Kitchen remodeling costs depend on the project scope, material choices, labor, and whether plumbing or electrical systems need to move; pricing is provided after a quote request. Keeping the existing layout can avoid relocating those systems, while changing appliance positions may require additional planning. Decide which daily problems matter most before setting the project’s priorities.
For a functional remodel, record household routines, identify recurring bottlenecks, and mark the preferred locations for preparation, storage, and seating. Then test the proposed arrangement against a grocery trip, a typical meal, and cleanup. If you’re ready to turn those observations into a considered layout, plan a kitchen remodeling project around the way your household uses the space.
When comparing island profiles, consider a curved shape rather than a chamfered one where it suits the layout. A curved form is recommended for reducing bumps during repeated trips around the island, so weigh it against the household’s everyday routes through the kitchen.
GTE Construction & Roofing: New Roofing & Installation
GTE Construction & Roofing provides kitchen remodeling for homeowners ready to address a layout that disrupts daily routines. Bring observations about crowded work areas, storage, appliance placement, or lighting to the remodeling conversation. These details help shape a project around how you cook, move through the room, and use its surfaces each day.
A kitchen remodel can be the next step when changing habits or clearing counters no longer resolves persistent layout problems. GTE Construction & Roofing also provides bathroom remodeling, New Roofing & Installation, and Roofing Repair.
Contact GTE Construction & Roofing to discuss your kitchen remodeling project.
Make Your Kitchen Plan Work for You
A kitchen remodel is an opportunity to make the room better suited to the people who use it. Before choosing finishes, identify the outcomes that matter most: a calmer cooking routine, easier access to everyday essentials, or a more comfortable place to gather. Clear priorities guide design choices and keep visual details connected to daily function.
Common kitchen design mistakes are easier to avoid when decisions are considered together rather than one at a time. A change to an island, appliance, or cabinet can affect movement and usable surfaces elsewhere. Bring your priorities and practical observations into the planning process so the finished room feels cohesive and supports the routines you want to keep.
If you’re ready to plan a kitchen that fits your household, get in touch with GTE Construction & Roofing to discuss your next step. Thoughtful planning can help turn everyday frustrations into a more functional space.
Frequently Asked Questions
What are the most common kitchen design mistakes?
Common kitchen design mistakes include choosing features for appearance without considering how people move, cook, and store everyday items. An oversized island, a blocked route to the refrigerator, or lighting that leaves the chopping area shadowed can make routine tasks harder. Another overlooked issue is planning for one cook when several household members use the kitchen. Test the proposed layout against actual daily routines before settling on the details.
What are standard kitchen aisle, walkway, and clearance dimensions?
Typical U.S. guidance suggests about 40 inches of clearance on both sides of an island and about 4 feet between countertops for circulation. In a small kitchen, 39 inches is the minimum recommended countertop clearance. Measure between the opposing counter edges, then account for open appliance doors and drawers. For example, a dishwasher left open can reduce the passage precisely when someone needs to move between the sink and another work area.
What are common kitchen storage and cabinet layout mistakes?
Storage often disappoints when cabinets are difficult to access or everyday items are far from where they’re used. A corner cupboard that swallows small appliances, for example, may be less useful than drawers or pull-out storage. Group supplies by routine: keep baking ingredients together, place mugs near the coffee-making area, and reserve accessible shelves for frequently used dishes. This arrangement helps avoid searching through several cabinets during a simple task.