A ceiling stain may be the visible sign of a leak that began somewhere else on the roof. If you find water damage in a ceiling from a roof leak, move belongings away, catch drips with a bucket, and keep clear of wet electrical fixtures; if water is pooling or actively dripping, seek professional attention promptly from experts like GTE Construction & Roofing. The U.S. Environmental Protection Agency advises drying water-damaged areas and items within 24 to 48 hours to help prevent mold growth.
It’s unsettling to see water entering your home, and the first priority is protecting people and limiting further damage. This guide explains what to do first, how to recognize possible electrical and ceiling-collapse hazards, and how to document the damage for your insurance claim. You’ll also learn how to distinguish likely roof leaks from other sources, what drying and repairs may involve, and which trades are suited to each part of the work.
Key Takeaways
- Move belongings away from ceiling leaks, catch drips, and stay clear of wet electrical fixtures; active dripping or pooling water needs prompt attention.
- Document the damage and keep claim records organized. According to the Michigan Department of Insurance and Financial Services, an overdue insurance claim accrues interest at 12 percent simple interest.
- Choose cleanup support based on the extent of mold: the U.S. Environmental Protection Agency says areas under about 10 square feet can generally be cleaned by the homeowner, while larger areas call for experienced professionals.
- Look beyond the stain to identify the source. Roof water can travel before it appears indoors, so the visible damage may not sit directly below the roof leak.
- Take sagging, bulging, new cracks, or deteriorating ceiling materials seriously, and keep people clear of areas that may be unstable.
1. Coverage differences between sudden storm damage and long-term leaks
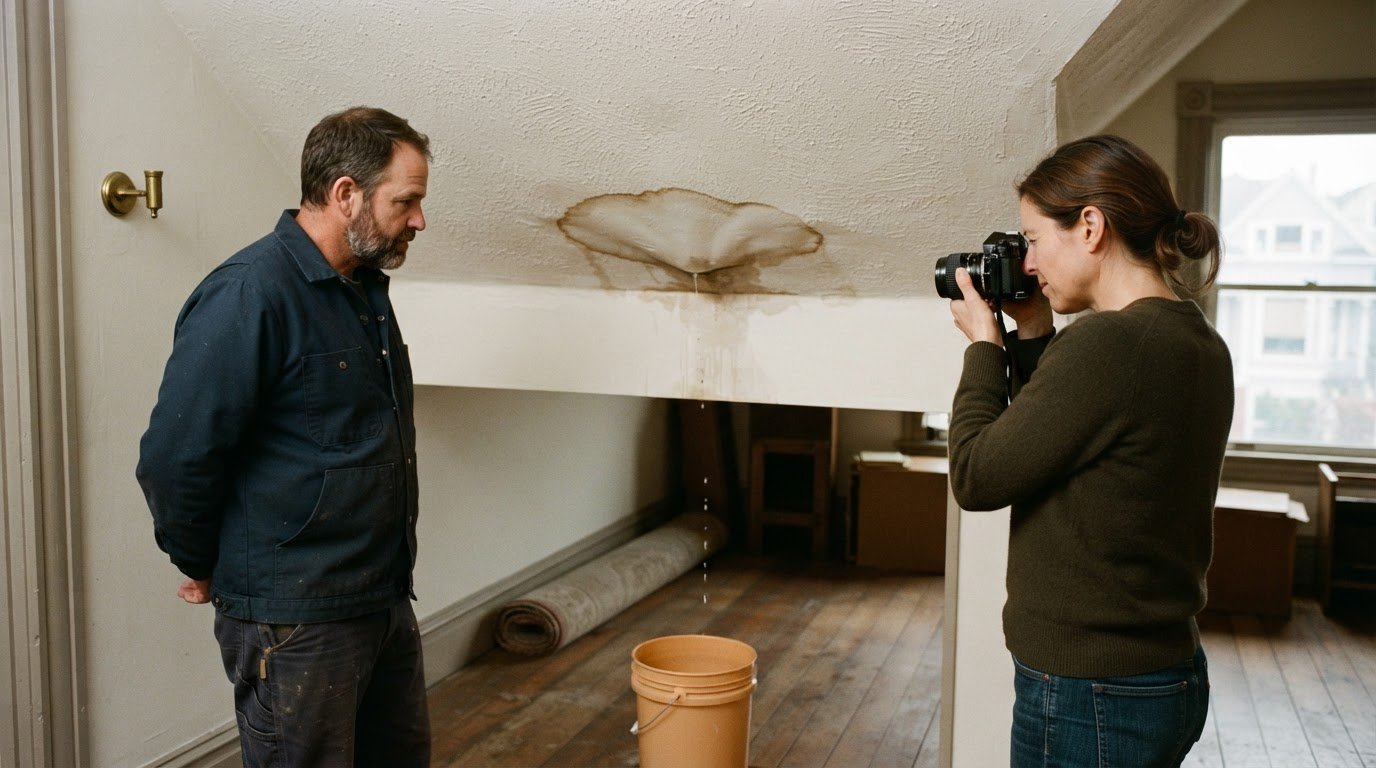
A storm can damage shingles, flashing, or another roof feature, allowing rain to enter through the ceiling. A gradual leak may result from worn roofing, failed flashing, or a recurring weak point. The cause and timing help explain the damage, but your policy wording determines coverage. Photograph the ceiling, roof area, and affected belongings before cleanup changes the evidence.
The cited ISO Homeowners 3 Special Form, HO 00 03 05 11, covers rain damage to belongings under windstorm or hail only when wind or hail first creates an opening in the roof or wall. That condition doesn’t settle every claim or apply automatically to every policy. Record what happened during the storm, when water appeared, and whether the roof shows a fresh opening. Review the policy language that applies to your claim.
A long-term leak may leave old stains, peeling paint, soft drywall, or musty odors. These signs can point to repeated moisture, but they don’t establish when the leak began. Compare current damage with earlier photos, repair records, and maintenance notes. A stain that returns after rain may mean an earlier repair missed the entry point or addressed only visible interior damage.
Attic condensation can resemble a roof leak. Check whether dampness is widespread on cold surfaces or concentrated beneath a roof penetration, flashing joint, or damaged shingle. Attic ventilation and indoor moisture can contribute to condensation, while rain-linked wetness near a roof opening suggests another pathway. Ceiling leaks can also come from plumbing, especially below bathrooms or supply lines, so note the room above the stain.
Moisture may spread beyond the visible mark. Inspect accessible attic areas for damp insulation, discolored wood, water trails, and musty smells. Take dated photos from the same position after rainfall, and note whether the stain grows or returns. Thick commercial roof insulation can conceal a leak for months, so a dry-looking ceiling doesn’t always rule out moisture above it.
Wet insulation can lose effectiveness, allowing heat to escape and making heating or cooling systems work harder. In a commercial building, saturated insulation may affect HVAC performance even when the interior stain looks small. Record changes in comfort alongside visible damage, but don’t treat an energy-use change alone as proof of a roof leak. A roofing assessment can trace water pathways and identify the source.
Keep claim documents together, including photos, dates, repair records, and insurer correspondence. Ask your insurer to explain how the policy wording applies to the reported cause and resulting damage. Clear records connect the reported event with what you observed and support a focused claim review.
2. Choosing restoration and repair trades
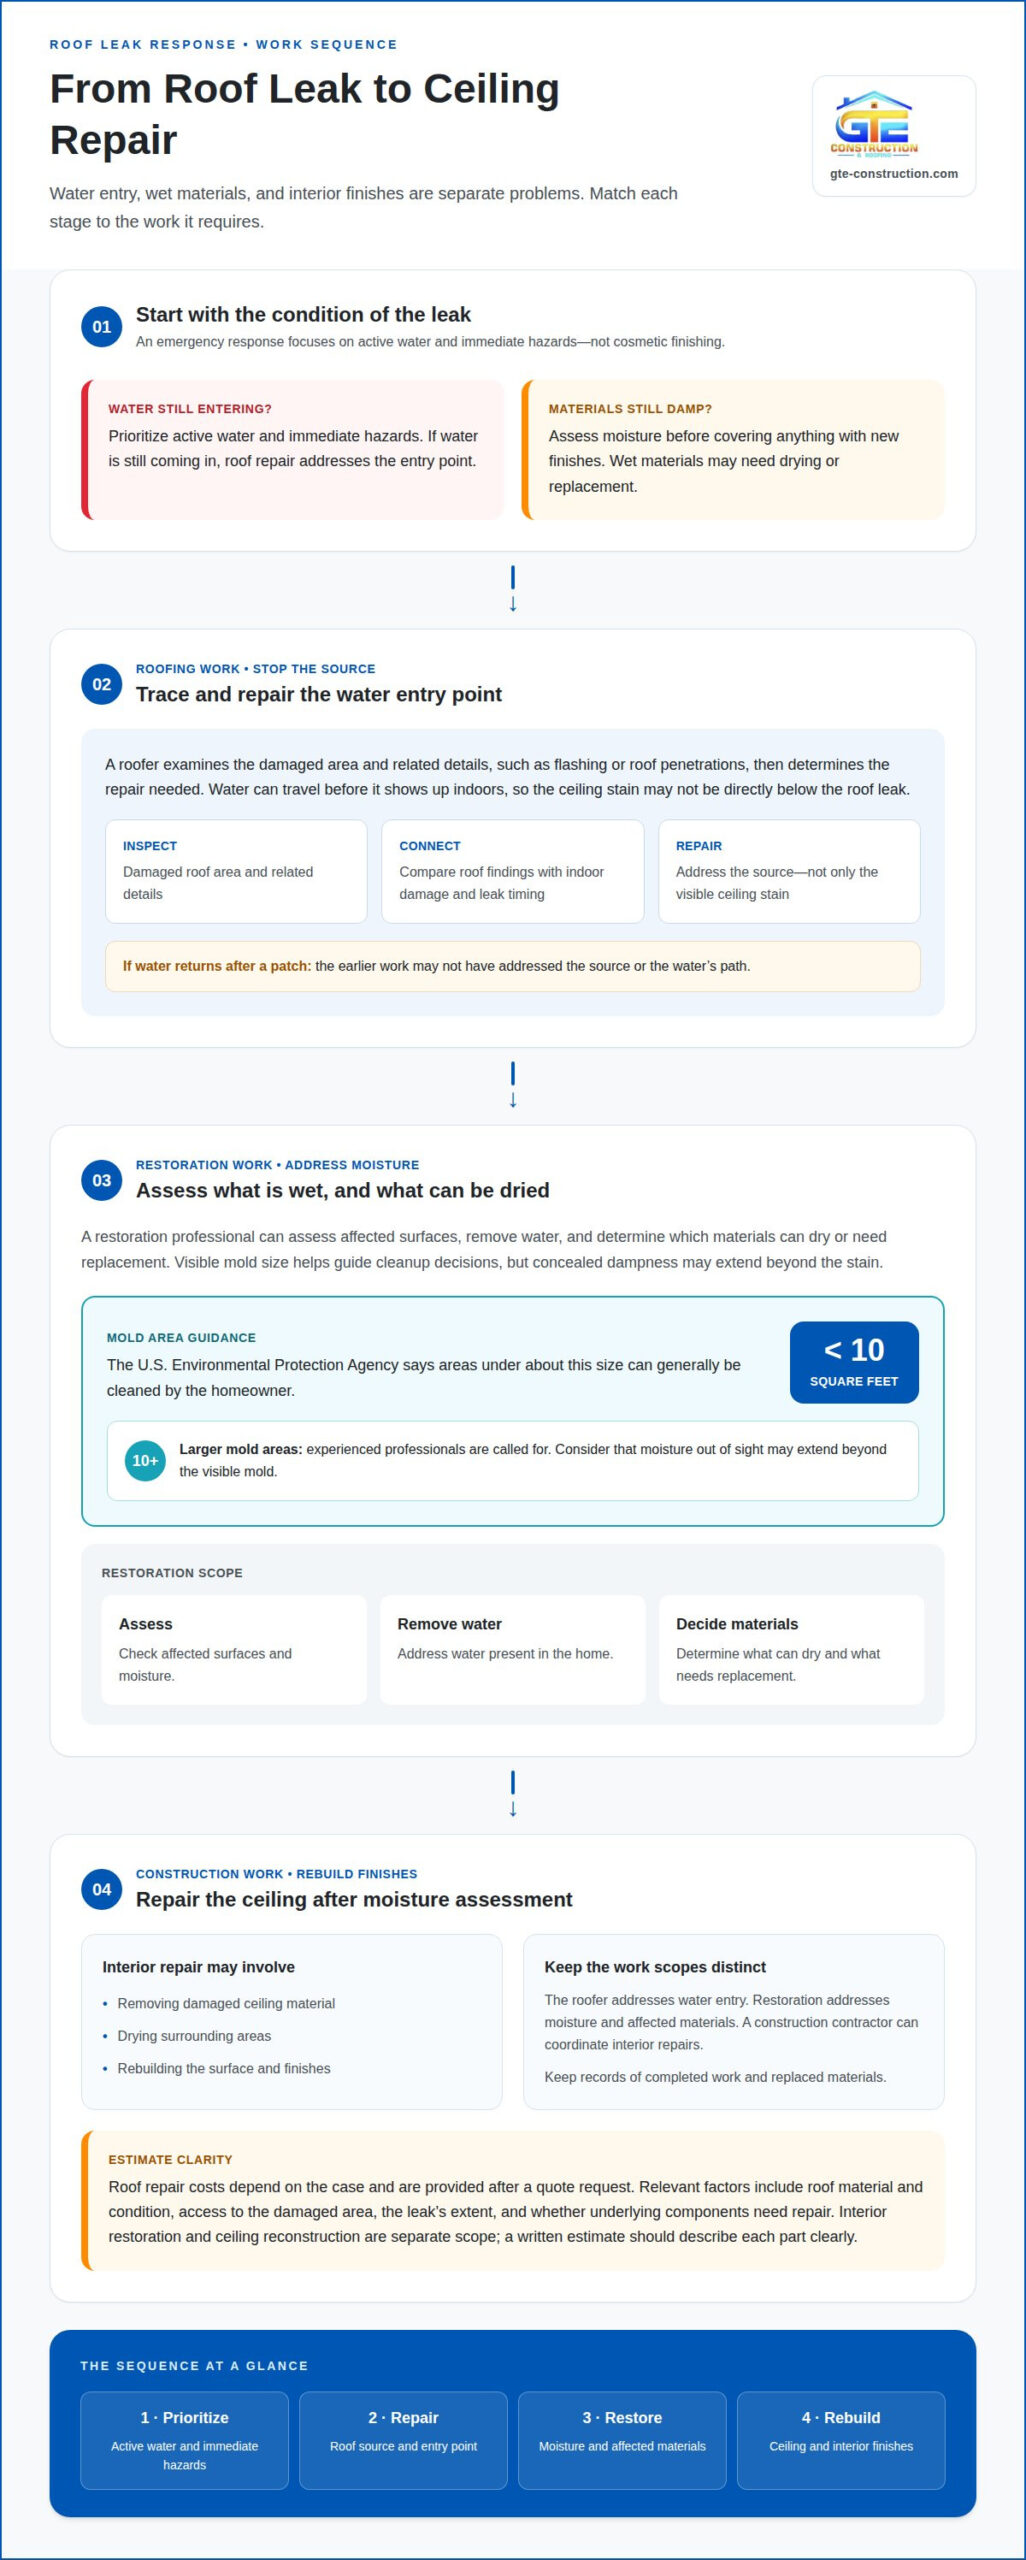
Water damage in a ceiling from a roof leak can involve three separate issues: water entry, wet building materials, and damaged interior finishes. One trade may not address them all. First determine whether water is still entering, materials remain damp, and rebuilding is needed. For example, a stained ceiling beneath a damaged roof may need roof work before drywall repairs can last. An emergency response should prioritize active water and immediate hazards, not cosmetic finishing.
Restoration work addresses moisture inside the home. A restoration professional can assess affected surfaces, remove water, and determine which materials can dry or need replacement. The U.S. Environmental Protection Agency says areas under about 10 square feet can generally be cleaned by the homeowner, while larger mold areas call for experienced professionals. Visible mold size helps guide that decision, though concealed dampness may extend beyond the stain.
Roofing work addresses the entry point. A roofer examines the damaged area and related details, such as flashing or roof penetrations, then determines the repair needed. If water returns after an earlier patch, the work may not have addressed the source or the water’s path. Dated photos and notes about when the leak appears can help connect the roof assessment with the indoor damage.
Repairs should follow a moisture assessment, not cover damp materials with new finishes. For example, damaged ceiling material may need to be removed, surrounding areas dried, and the surface rebuilt. A restoration professional and roofer handle different parts of the problem, while a construction contractor can coordinate interior repairs. Keep records of completed work and replaced materials.
When water damage in a ceiling from a roof leak requires both roof and interior work, keep those scopes distinct. Roof repair costs depend on the case and are provided after a quote request. Relevant factors include roof material and condition, access to the damaged area, the leak’s extent, and whether underlying components need repair. Interior restoration and ceiling reconstruction add separate scope, so a written estimate should describe each part clearly.
For a continuing leak or visible roof damage, roofing repair is the relevant next step. Once the source has been addressed, interior restoration and construction can focus on affected materials and finishes. Keeping roof and ceiling findings together helps connect the repair to the damage it is meant to resolve.
3. Electrical safety after water reaches fixtures or wiring
Water near a ceiling light, outlet, or wiring can create fire and electrocution risks. Don’t touch a wet fixture, switch, or exposed wire, and keep others out of the affected room. If water drips through a light or pools around an outlet, treat the area as unsafe. Avoid standing water, metal ladders, and attempts to remove a fixture or ceiling cover.
If the electrical panel is dry and reachable without crossing a wet area, shut off power to the affected area. Don’t approach the panel if water has reached it or you’d need to pass through standing water. In that situation, keep clear and contact emergency services if there is immediate danger. A dark room is inconvenient, but entering a wet electrical area can make the hazard worse.
After the power is off, leave electrical equipment untouched until a qualified electrician evaluates it. Water can affect internal components even when a light, fan, or outlet looks dry. Don’t switch a fixture back on to test it, and don’t assume a tripped breaker means the system is safe. The electrician can assess affected equipment before it returns to service.
Replace a smoke alarm that water has run through. Don’t remove it and leave the room without working protection; arrange a replacement suitable for that location. If water reached an alarm, note its position and the visible water path for the electrician. A ceiling alarm may be affected even if nearby lights still work.
Electric heat cable on a roof or in a gutter is another electrical component to consider. If a leak appears near its route, don’t handle, cut, or remove the cable yourself. Keep clear of wet roof edges and avoid operating its controls until an electrician assesses the electrical condition. Tell the electrician where the cable runs and where water appeared. A roofer can separately assess the leak source.
Document the affected locations without touching equipment. From a safe, dry position, photograph the ceiling fixture, nearby stains, and any visible cable controls. Note whether lights flickered, breakers tripped, or an alarm was exposed to water. Share those details with the electrician and roofer, since the electrical hazard and roof opening require separate assessments. Don’t cover a wet fixture during ceiling repairs. Keep the area isolated until the electrical equipment has been evaluated and the water source addressed.
5. Roof-related sources of water damage
To find a roof leak, compare the ceiling stain with accessible attic water trails and roof features above it. Don’t climb onto a wet or damaged roof. Have a roofer trace the entry point and repair the failed area before restoring interior finishes.
Brown, yellow, or rust-colored marks can show where roof water has saturated ceiling or wall materials. Look for discoloration near roof penetrations, flashing joints, valleys, and damaged shingles. These details can narrow the search, but the stain itself doesn’t pinpoint the opening. Water may travel along framing or other surfaces before appearing indoors.
The room’s location can help distinguish roof leakage from other causes. A leak on an upper floor is more likely to involve the roof, while a basement ceiling leak may point to plumbing. For example, a stain below an upstairs bathroom could relate to a pipe or fixture. Compare the stain with the floor above and the attic instead of assuming every ceiling leak starts overhead.
In commercial buildings, water may appear some distance from the roof penetration. A ceiling stain below an office window, for instance, may trace back to a roof opening elsewhere. Check accessible roof plans, attic routes, and visible water trails together. Water can enter the building in one place and become visible in another, so a repair based only on the stain may miss the source.
After rainfall, note whether the stain darkens, spreads, or develops a fresh edge. Record the date and photograph the ceiling from the same position each time. In an accessible attic, look for damp insulation, water marks on wood, or wet areas near vents and flashing. Don’t remove ceiling material to search for a leak, especially if the surface is unstable or has an older textured finish.
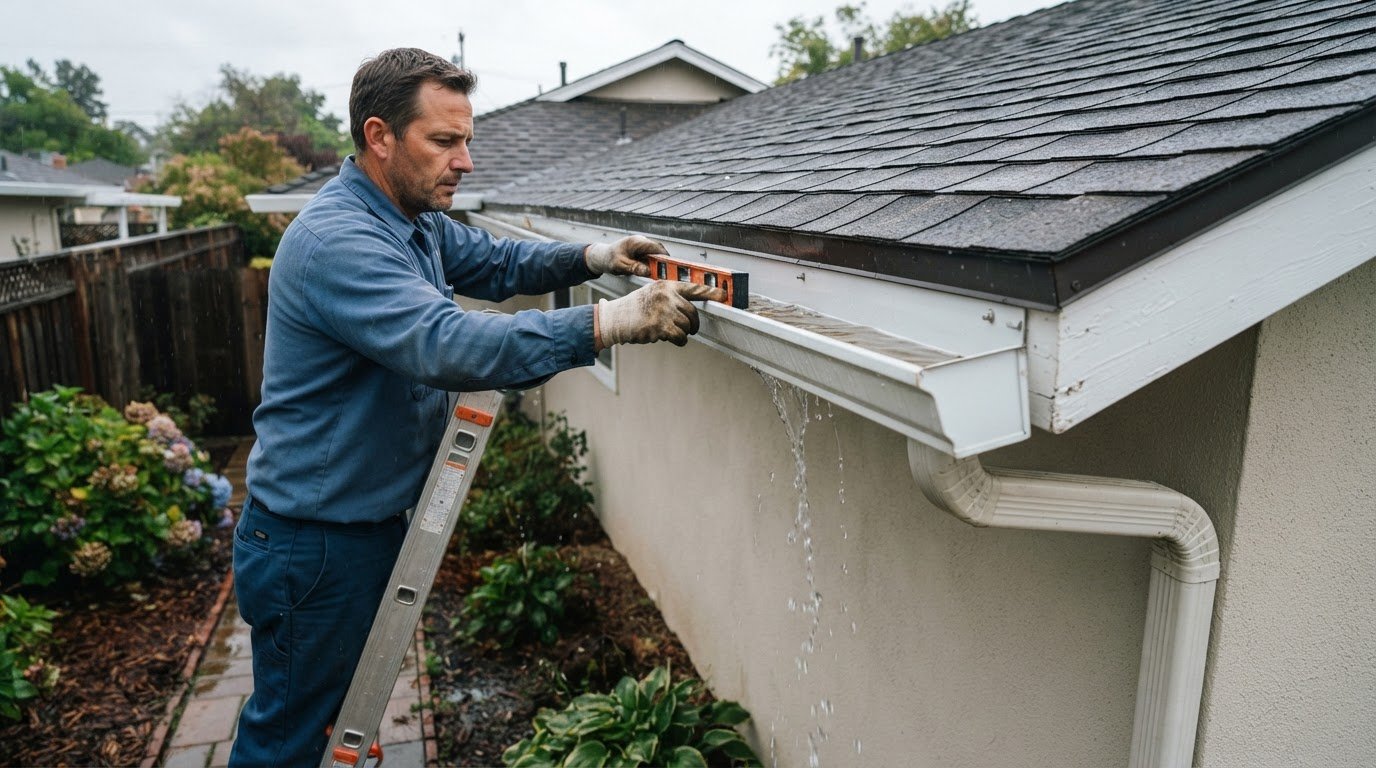
Pay attention to roof drainage details. A gutter that collects debris or directs water toward the structure can contribute to moisture around roof edges. Note overflow marks, damaged flashing, loose shingles, or water stains near eaves. These observations help a roofing assessment distinguish a localized opening from a broader drainage or roof-system issue.
Repair the entry point first, then assess the ceiling and insulation for remaining moisture. Replacing stained drywall without correcting failed flashing, shingles, or another roof opening can leave the same pathway active. Keep photos of the visible damage and roof findings together. This record connects the indoor stain to the repair location and shows whether later rainfall brings back the same signs.
5. How can I tell if a water-damaged ceiling is at risk of collapsing?
Look for changes in the ceiling’s shape and surface. Sagging ceiling tiles, warped wall panels, peeling paint, and deteriorating materials can signal advanced water damage. A growing bulge or a section that appears lower than nearby areas needs attention. Don’t stand beneath a visibly sagging ceiling or press on it to test its strength.
Water adds weight to ceiling materials, while ongoing moisture can weaken their connections and supporting surfaces. A stain alone doesn’t show whether a ceiling is stable. Watch for visible movement, fresh cracks, material separation, and changes after more water enters. If water pools on the floor or actively drips from the roof, seek professional attention promptly.
Plaster ceilings need particular care. Have a plaster contractor assess a bulge or a new web of cracks. Plaster on lath can lose its grip as it dries, so a surface that looks unchanged after the leak stops may still need assessment. Keep people out of the room until the ceiling’s condition has been evaluated.
Use a safe position to document what you see. Photograph the ceiling and nearby walls without touching the damaged area, then compare images if the shape or cracks change. Note whether peeling paint spreads, a panel warps further, or a new crack appears. These observations give a contractor a clearer picture of how the damage is progressing.
Don’t cut into a ceiling to release trapped water or inspect hidden damage. The material may be unstable, and older textured or popcorn ceilings should be tested for asbestos before anyone cuts into them. Avoid moving furniture beneath a bulge if doing so requires entering an unsafe area. Limit access to the affected room, especially if material is visibly sagging or falling.
When describing the damage, identify the ceiling type, visible signs, and whether water is still entering. For example, report a plaster ceiling with a new crack pattern differently from a sagging ceiling tile. Share photos and note any changes after rainfall. A plaster contractor can assess plaster damage, while a roofer can investigate an active roof leak. Repairing only the surface won’t resolve water that continues to enter.
If roof leakage has left the ceiling visibly damaged, request a roofing repair assessment to address the source before interior repairs proceed.
GTE Construction & Roofing
GTE Construction & Roofing can address roof damage and the home repairs that follow. If a ceiling stain, leak, or damaged roofing points to an unresolved source, Roofing Repairs can address the roof issue before interior work proceeds. For broader updates after water damage, Kitchen Remodeling or Bathroom Remodeling may be relevant when those rooms are affected.
Share what you’ve observed, including where the ceiling is stained, whether the leak returns after rain, and any visible roof damage. These details help clarify whether the next step involves roof repairs, new roofing, or related residential construction. Connecting the source with the interior damage can help prevent a surface repair from overlooking the underlying problem.
Contact GTE Construction & Roofing to plan your next step.
Move from temporary protection to a lasting plan
Once immediate hazards are addressed, treat the repair as a chance to restore the home’s protection as a whole. A ceiling stain is only one visible part of the problem. Water damage in a ceiling from a roof leak can also affect materials and finishes beyond the spot you first noticed, so keep inspection findings, claim records, and repair decisions together.
Before work begins, make sure the plan accounts for both the roof opening and affected interior areas. This sequence helps prevent a finished ceiling from hiding an unresolved source. If the project expands into a broader home update, GTE Construction & Roofing also offers Kitchen Remodeling alongside roofing services, so the work can reflect your home’s needs.
You don’t have to plan the next step alone. Contact GTE Construction & Roofing to discuss the damage and the work your home needs. A clear plan is a practical first move toward putting the affected space back in order.
Frequently Asked Questions
I Have A Leak in My Ceiling What Should I Do?
Keep people away from beneath a bulging or sagging area, then note where water appears and whether it changes during rainfall. If the ceiling looks stable, move nearby valuables and place a container under drips without touching wet fixtures. Photograph the damage and record when you first noticed it. These details can help distinguish a roof leak from a plumbing problem and guide the next assessment.
What should I do immediately when a roof leak causes water damage to a ceiling?
Address immediate hazards before handling belongings. Keep clear of water near lights, outlets, or wiring, and isolate the affected area. If the electrical panel is dry and safely accessible, turn off power to the affected area; otherwise, don’t approach it. Record visible damage and the leak’s timing. If water is pooling or actively dripping, seek prompt professional attention.
How do I dry and repair a ceiling after a roof leak?
Stop water from entering before closing or repainting the ceiling, then assess damp materials and the area around them. The U.S. Environmental Protection Agency advises drying water-damaged areas and items within 24 to 48 hours to help prevent mold growth. A repair plan may involve removing damaged sections, drying surrounding materials, and restoring the ceiling finish only after the moisture source is addressed.
When does a water-damaged ceiling need to be replaced instead of repaired?
Replacement may be necessary if the ceiling has lost its shape, material is crumbling, or sections have separated from their supports. Intact drywall may be repairable, while swelling or damaged seams can indicate replacement is needed. Wet fiberglass or cellulose insulation should be discarded and replaced. A professional assessment can distinguish surface staining from damage that compromises the ceiling material.
How much does roof leak repair typically cost?
Roof leak repair costs depend on the case and are given after a quote request. The scope can change with the roof material, access to the damaged area, the leak’s location, and whether underlying components need repair. Interior ceiling work is a separate part of the project. A written estimate should describe the roof work and any included interior repairs, so you can see what the proposed scope covers.
Does homeowners insurance cover ceiling water damage caused by a roof leak?
Coverage depends on the policy and how the leak occurred, so a ceiling stain alone doesn’t determine the claim outcome. The cited ISO HO-3 form covers rain damage to belongings under windstorm or hail only when wind or hail first creates an opening in the roof or wall. Preserve photos, dates, and repair records, and compare the insurer’s explanation with your policy language.
How can I prevent mold after a roof leak damages a ceiling?
Preventing mold starts with stopping the leak and drying affected areas and belongings promptly. The U.S. Environmental Protection Agency recommends drying them within 24 to 48 hours to help prevent mold growth. Don’t cover damp ceiling materials with paint or new finishes. Check adjacent surfaces and materials for remaining moisture, since the visible stain may not show the full extent of the wet area.
What are the health risks of mold and contaminated water from a ceiling leak?
Mold and contaminated water can present health concerns, but the risk depends on the material and exposure. Don’t assume water is safe based on its appearance, and keep children and pets away from wet debris or visible mold. Avoid disturbing moldy materials, which can spread particles into the room. If someone feels unwell after exposure or has health concerns, seek advice from a medical professional.